

Description
Recently I got this smart touch screens TFT-Display from the DWIN specialized in making High quality and cost effective HMI touch screens display. In this tutorial I am going to make simple GUI for this model DMG80480C043_02WTC which I got from Dwin. In this you will learn how to design any GUI for your project and then how to upload it in the display memory or flash in the display.
This DMG80480C043_02WTC has resolution of 480X800 and can be easily used with 5V compatible controller boards like Arduino Uno, Arduino Nano, Arduino Mega, PIC microcontrollers, 8051 family of microcontrollers, etc.
So, In this tutorial, I am going to start with this display and in further tutorial we will see others TFT display of Dwin. So stay tune here to get the solution for Dwin-HMI display. For this product or more different product you can contact Dwin supplier or their Team, contact details are given for any query related with Product, please reach to them if you have any.
You can use this coupon DWINROCK0760 to get discount & 𝐈𝐟 𝐲𝐨𝐮 𝐰𝐚𝐧𝐭 𝐭𝐨 𝐠𝐞𝐭 𝐟𝐫𝐞𝐞 𝐬𝐚𝐦𝐩𝐥𝐞𝐬 𝐲𝐨𝐮 𝐜𝐚𝐧 𝐜𝐨𝐧𝐭𝐚𝐜𝐭 𝐭𝐡𝐞𝐦.
Tool Installation
So let’s install the GUI Tool which is design by Dwin and also install the USB driver which will help in the uploading the project in Display. Below link is given to download those two file for GUI-tool and USB driver.
Link to download these files. https://www.dwin-global.com/
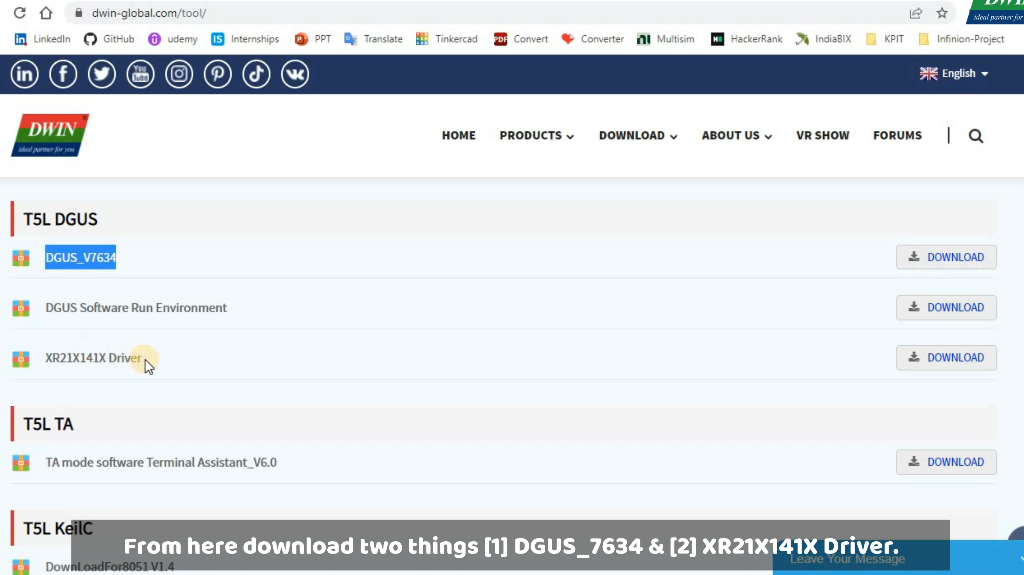
By above link go in this website then go in download section of it after that go in tool you will get the wind like this as given in above image. From here Download two things one is DGUS_V7634 (GUI-Tool) and another one is XR21X141X (USB-Driver), after Downloaded these folders extract these folder and then open it one by one as given in below image. For Driver installation there is one application file for different-different operating system, so accordingly install the driver as per you system.
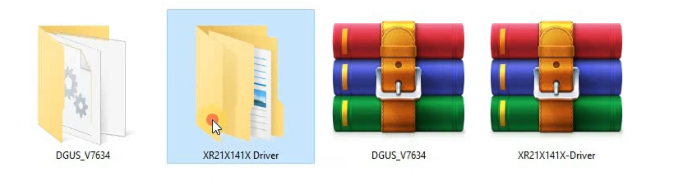
After installed the driver now go inside the DGUS_V7634 folder and open this application file to run the GUI software as per the image which is given below.

Now installation part is done you can open DGUS tool, to make a new project, so let’s move further to design the GUI/interface.
GUI Designing
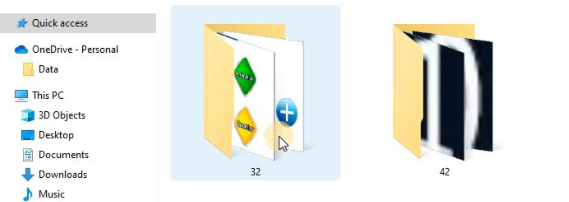
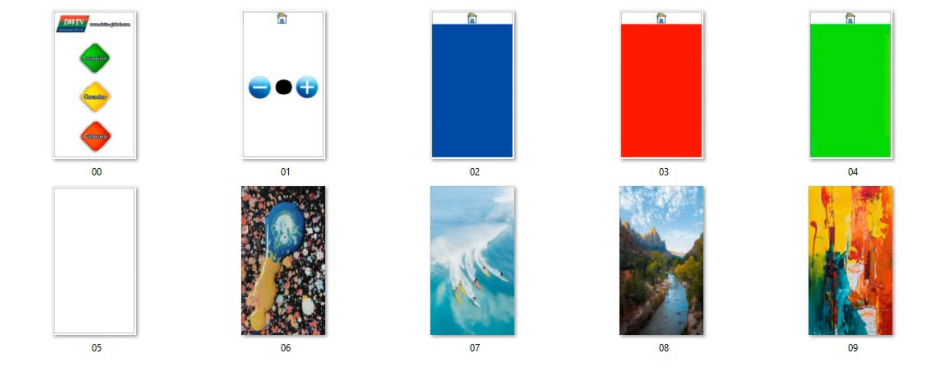
For designing purpose I have edited the some images as per the project requirements and there are two folder one is for normal images which has resolution of 480×854 as we have this option in the tool. and other are icons which we will use in the counter part at the time of designing. So let’s start with designing stepwise.
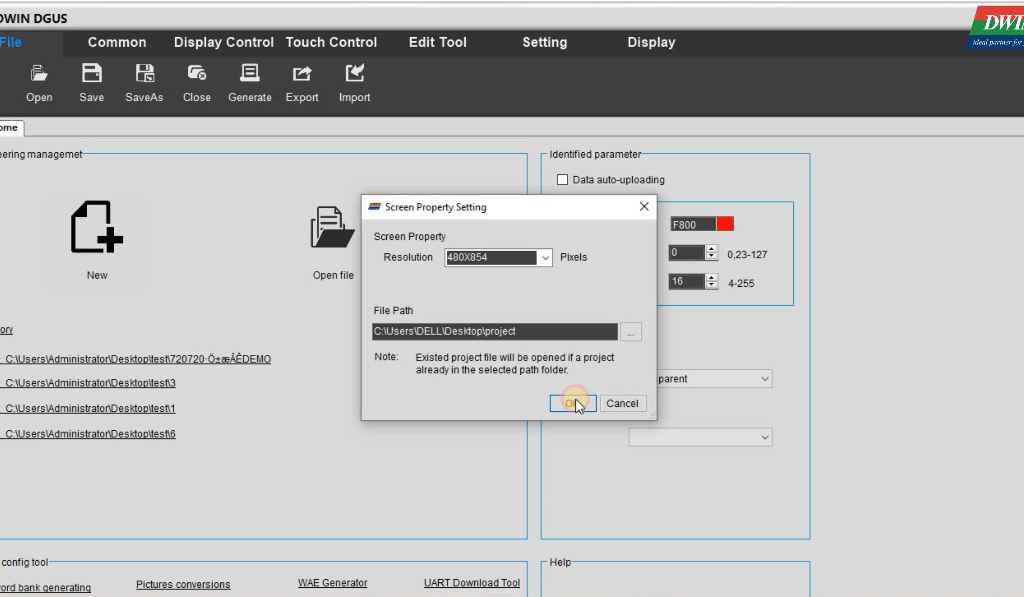
Step-1 :- First step is to make a new project in DGUS tool and select the screen size as per your display then after this we have to add images in it to make GUI but, before this we have to convert images so for conversion follow second step.
Step-2 :- First you need to know the naming way to give the name to the images, you should have to give images or icon name from 0 to any number of images you have.

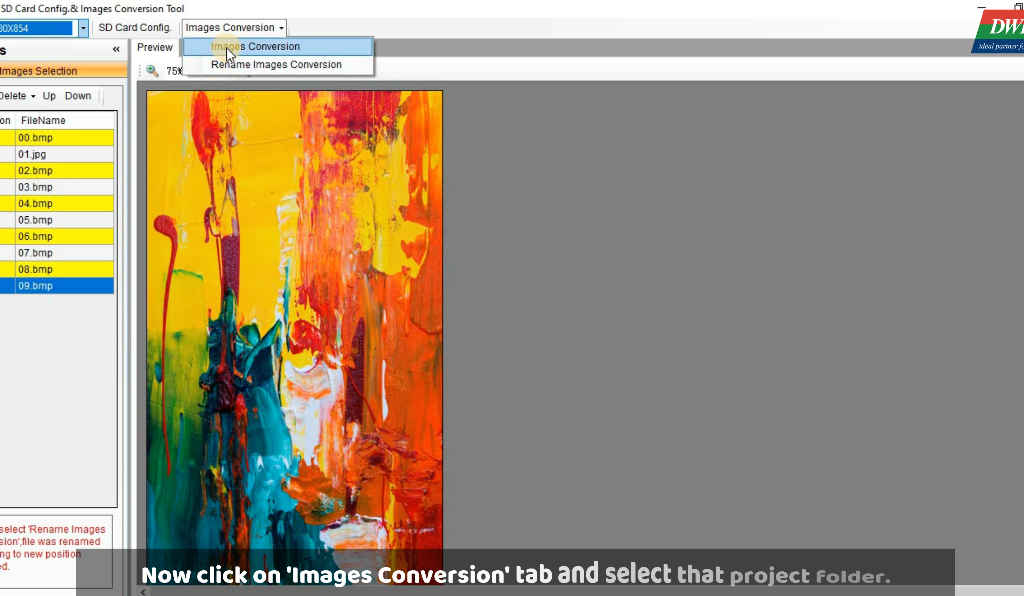
After that also you have to give folder name as 32 , 33,…..42 and so on , this is because there is memory section which is divided for different data type so at the time of giving name of folder start from 32 and go up-to 63, so keep it in mind this thing. So here in first steps we will convert our images into a specific screen size with the help of ‘Image Converter’ which is already there in DGUS tool. After added these images you have to click on images conversion and then select project folder to save it as shown in below image.
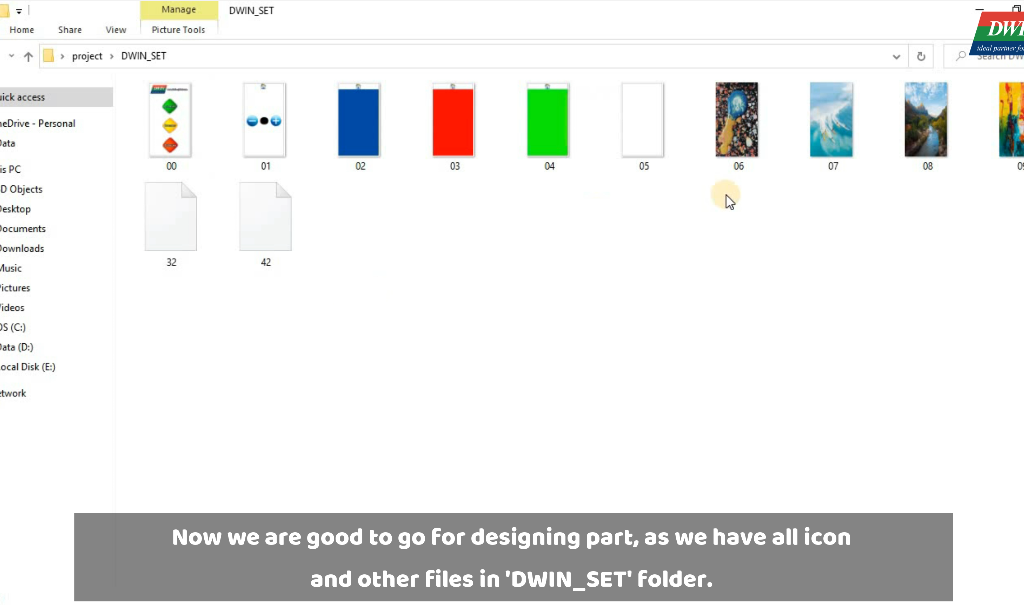
Step-3 :- Now in this step we will make Icon Library file for each image folder which we have, with the help of ICL-Tool and these files will save in the DWIN_SET folder. So now go in DGUS’s ICL-Tool

Add those images which we have converted for particular screen size and then click on Generate ICL button and at the time of saving give the name as 32 only and save it in DWIN_SET folder. Similarly do for that icon folder 42 generate ICL for that also and save it in DWIN_SET folder only.
Step-4 :- Now add the buttons and transitions on the images which we have added previously for interface design. For first page you can see I already added button there for this you have to drag that ‘Basic Touch Module’ here one by one on each button as shown in the below image.
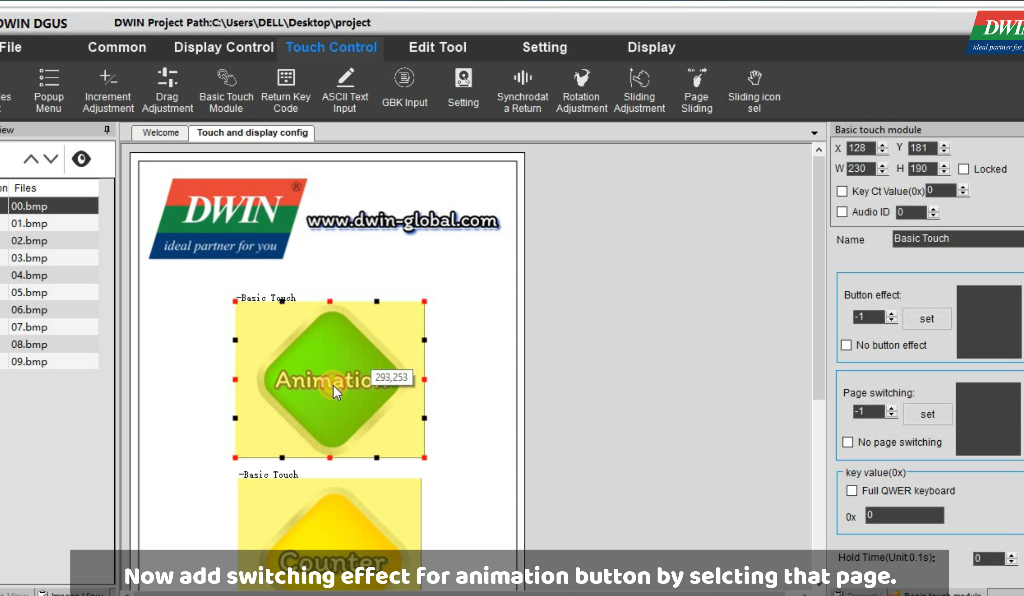
Counter screen:- For button effect change the properties of button which are given in the right side, as we want first button on animation page so I have added that Page switching to that particular page, similarly for counter button set the Page switching to counter page and this same thing do for RGB-LEDs, and by this you have done this first page/screen, now move forward for second screen which we have.
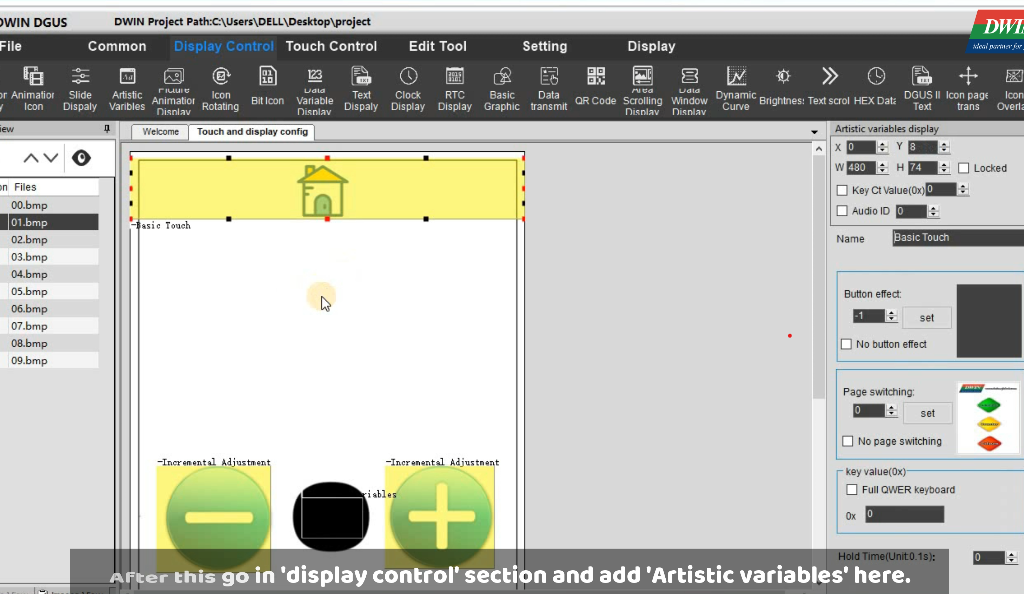
This is second screen which we have so you have to add other button effect here also, so at the home button add Basic touch button and add increment & decrement button on ‘+’ and ‘-‘ button as shown in the above image, and add Artistic variable for display purpose which will show counting value. Now add the address for these two increment/decrement buttons which will help to show on that on display with the hep of Artistic variable. After that add the address as 2020 and change other setting as per the below image.
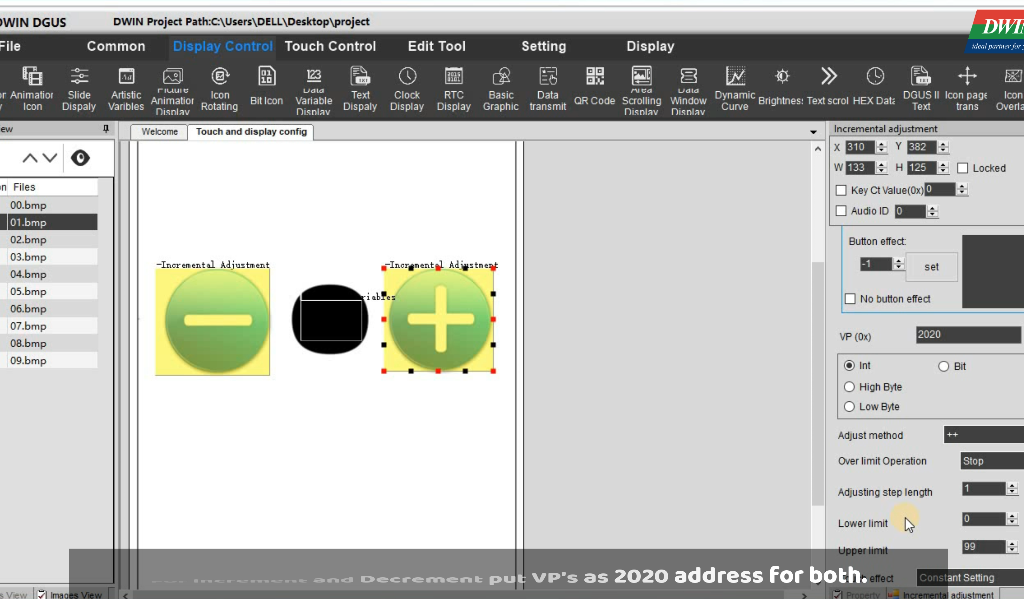
Do this above setting for both buttons as shown in the above image, don’t forget to put same address here. So let’s move towards next screen.
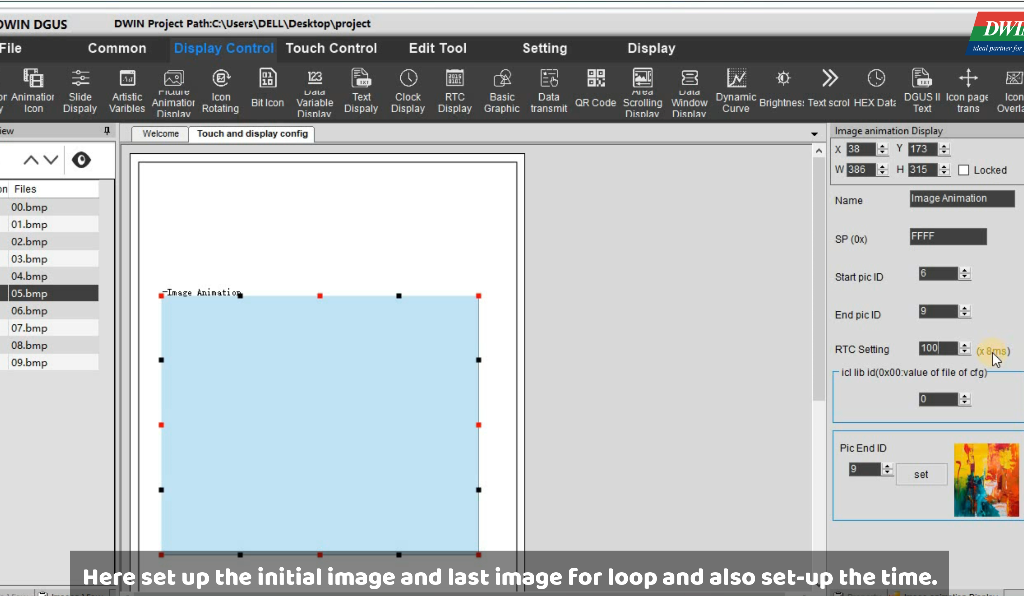
Animation screen:- Next screen for animation screen here you have to add a Image animation widget and in the setting of this widget you have to select those values which is shown in the above image(right side), here if you want slow transition between images you can change time by changing RTC setting.
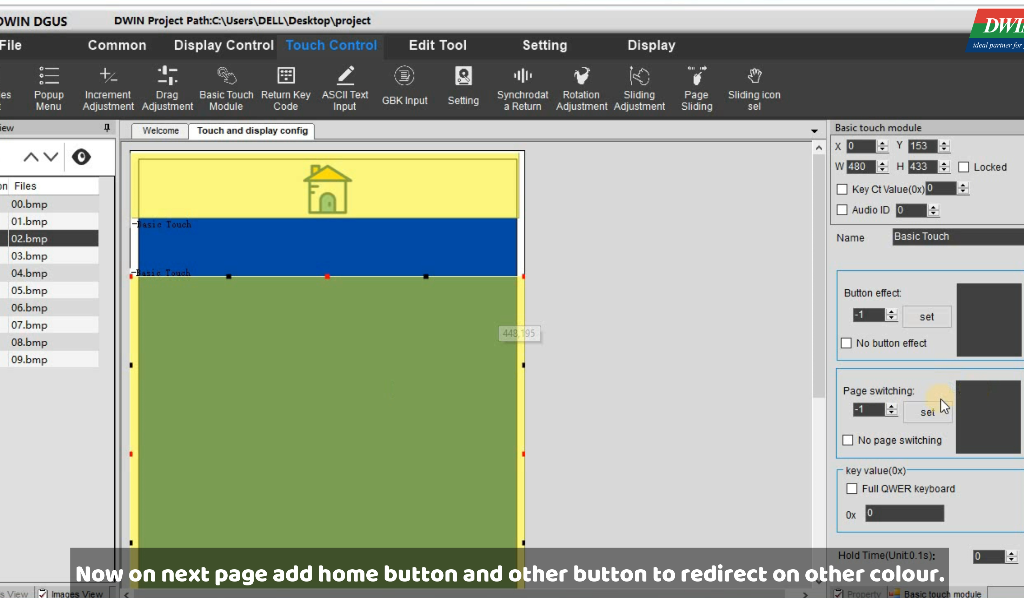
Colour screen:- This screen for colour screen which already have three colour set Red, Green & Blue so for transition you have to add just Basic Touch button on every colour and set the page by setting at which you want to jump. So here I have set next colour for each colour in a loop as shown in the below image and do other setting. After doing all these steps now you have completed with GUI design for this project, so now let’s move further to upload this whole project in HMI-display.
Uploading
Before uploading just do all the connection as per the circuit diagram as shown in the below figure.
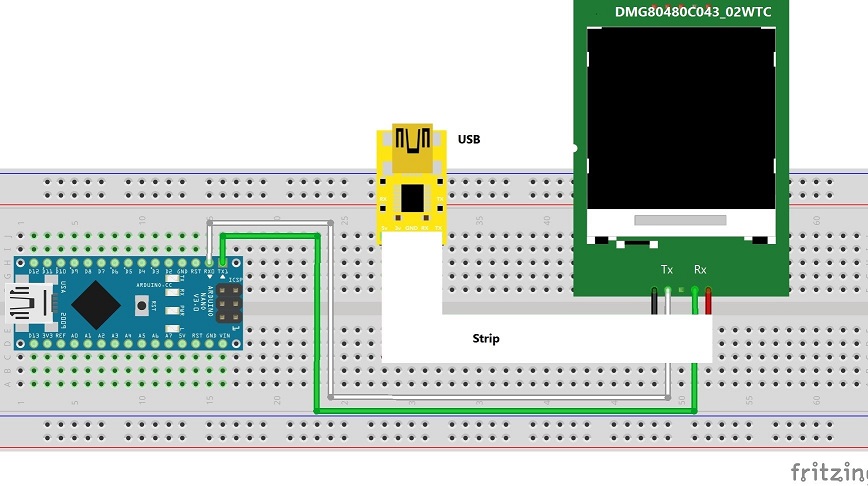
Connect all the components as per the circuit diagram. Here I used DWIN-HMI display(DMG80480C043_02WTC) this display come with a USB board which helps in uploading the project in it. For upload go in the DGUS-Tool and select T5L as shown in the below image and select all these files which are available in DWIN_SET folder as shown in image.
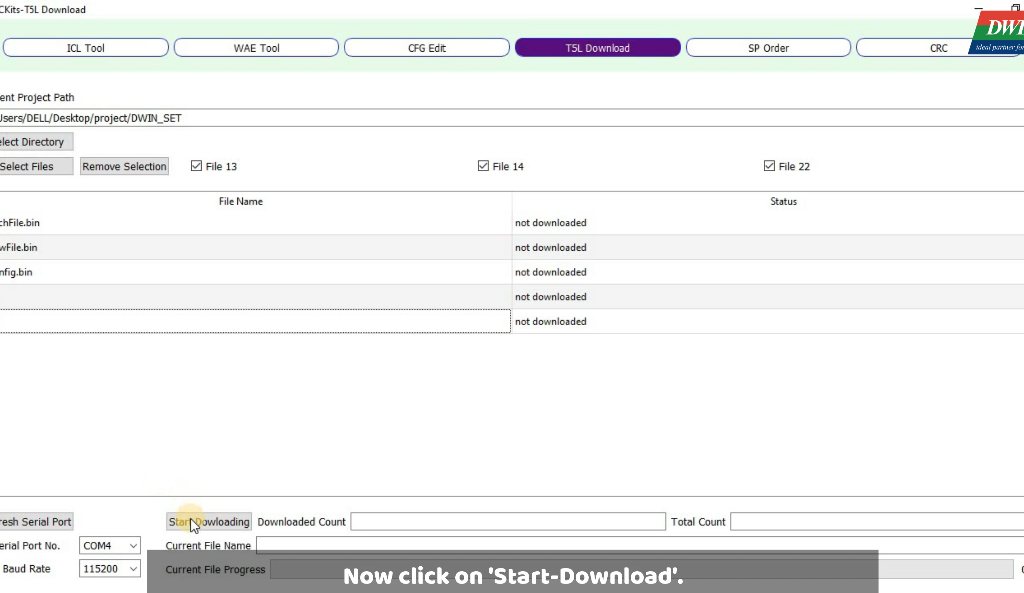
After that you can click on Start downloading button. And you check below progress bar for completion.
Testing/output
This is output of our project which we have design throughout in this article, below YouTube link of this project is given, so if you are facing any difficulties please see the video also or if you have any doubt please ask in comment section, I will try to give answer as soon as possible. And for any product query reach to them Email Id :- rock@dwin.com.cn
YouTube-Video
